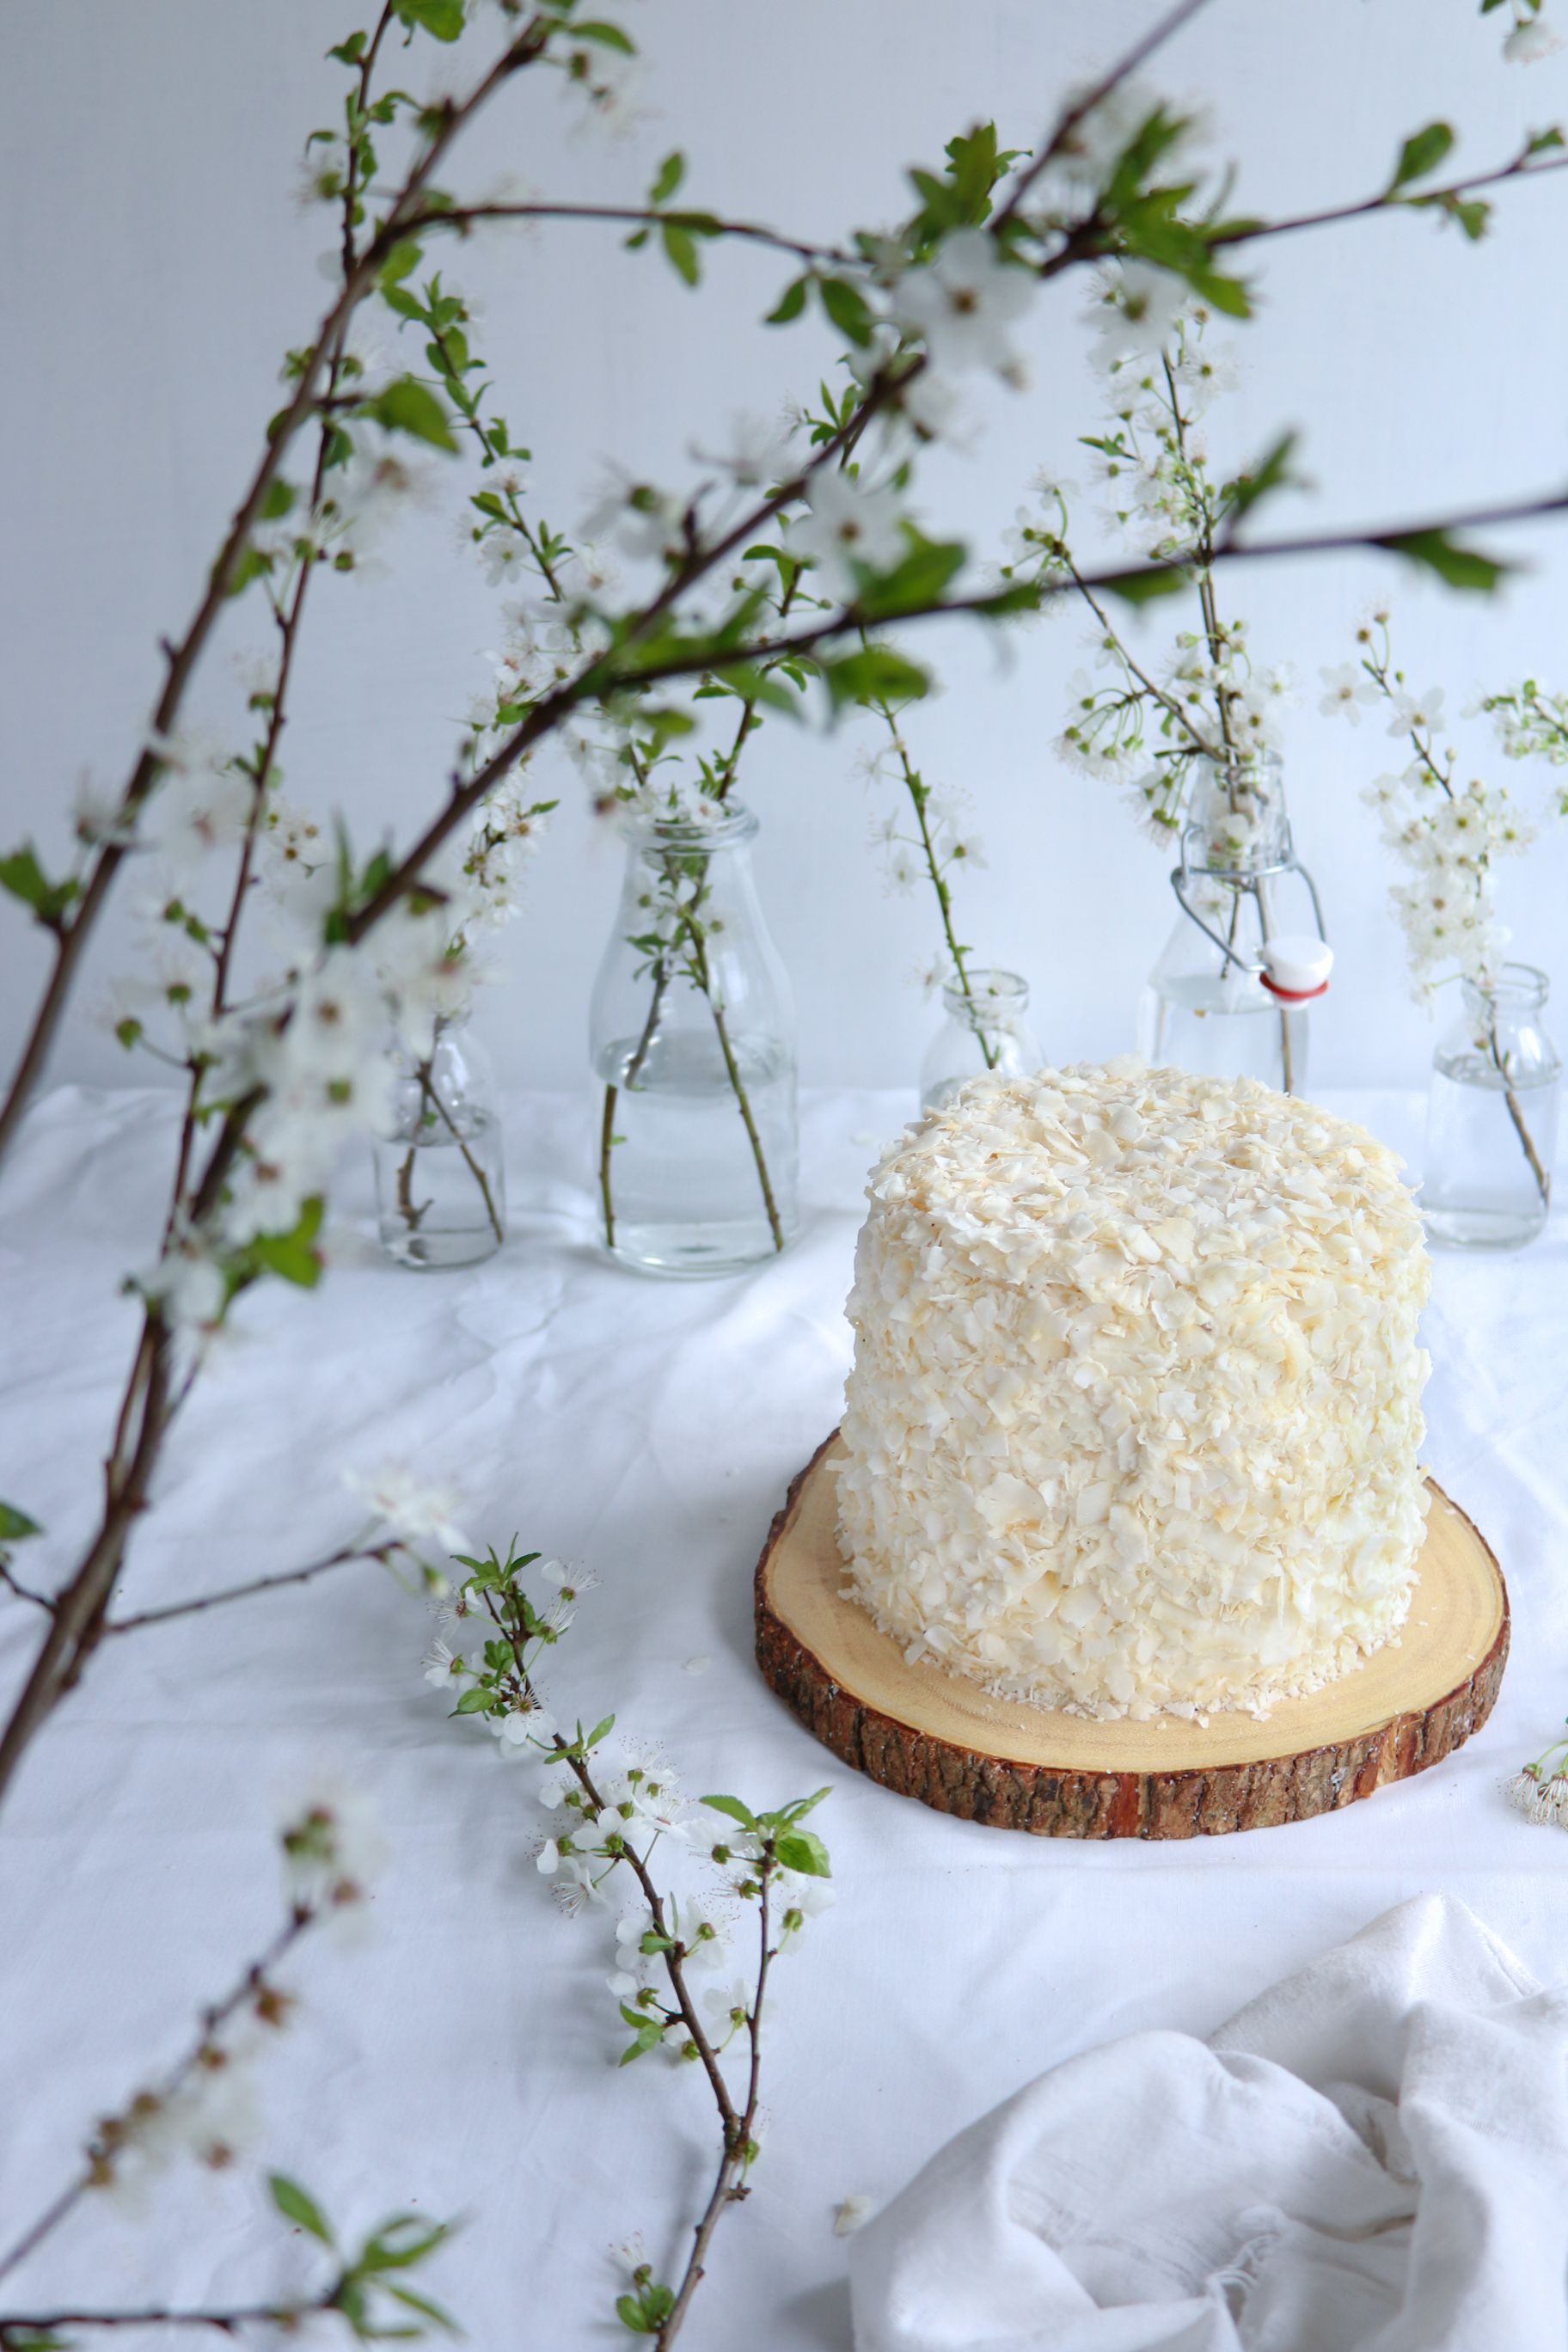
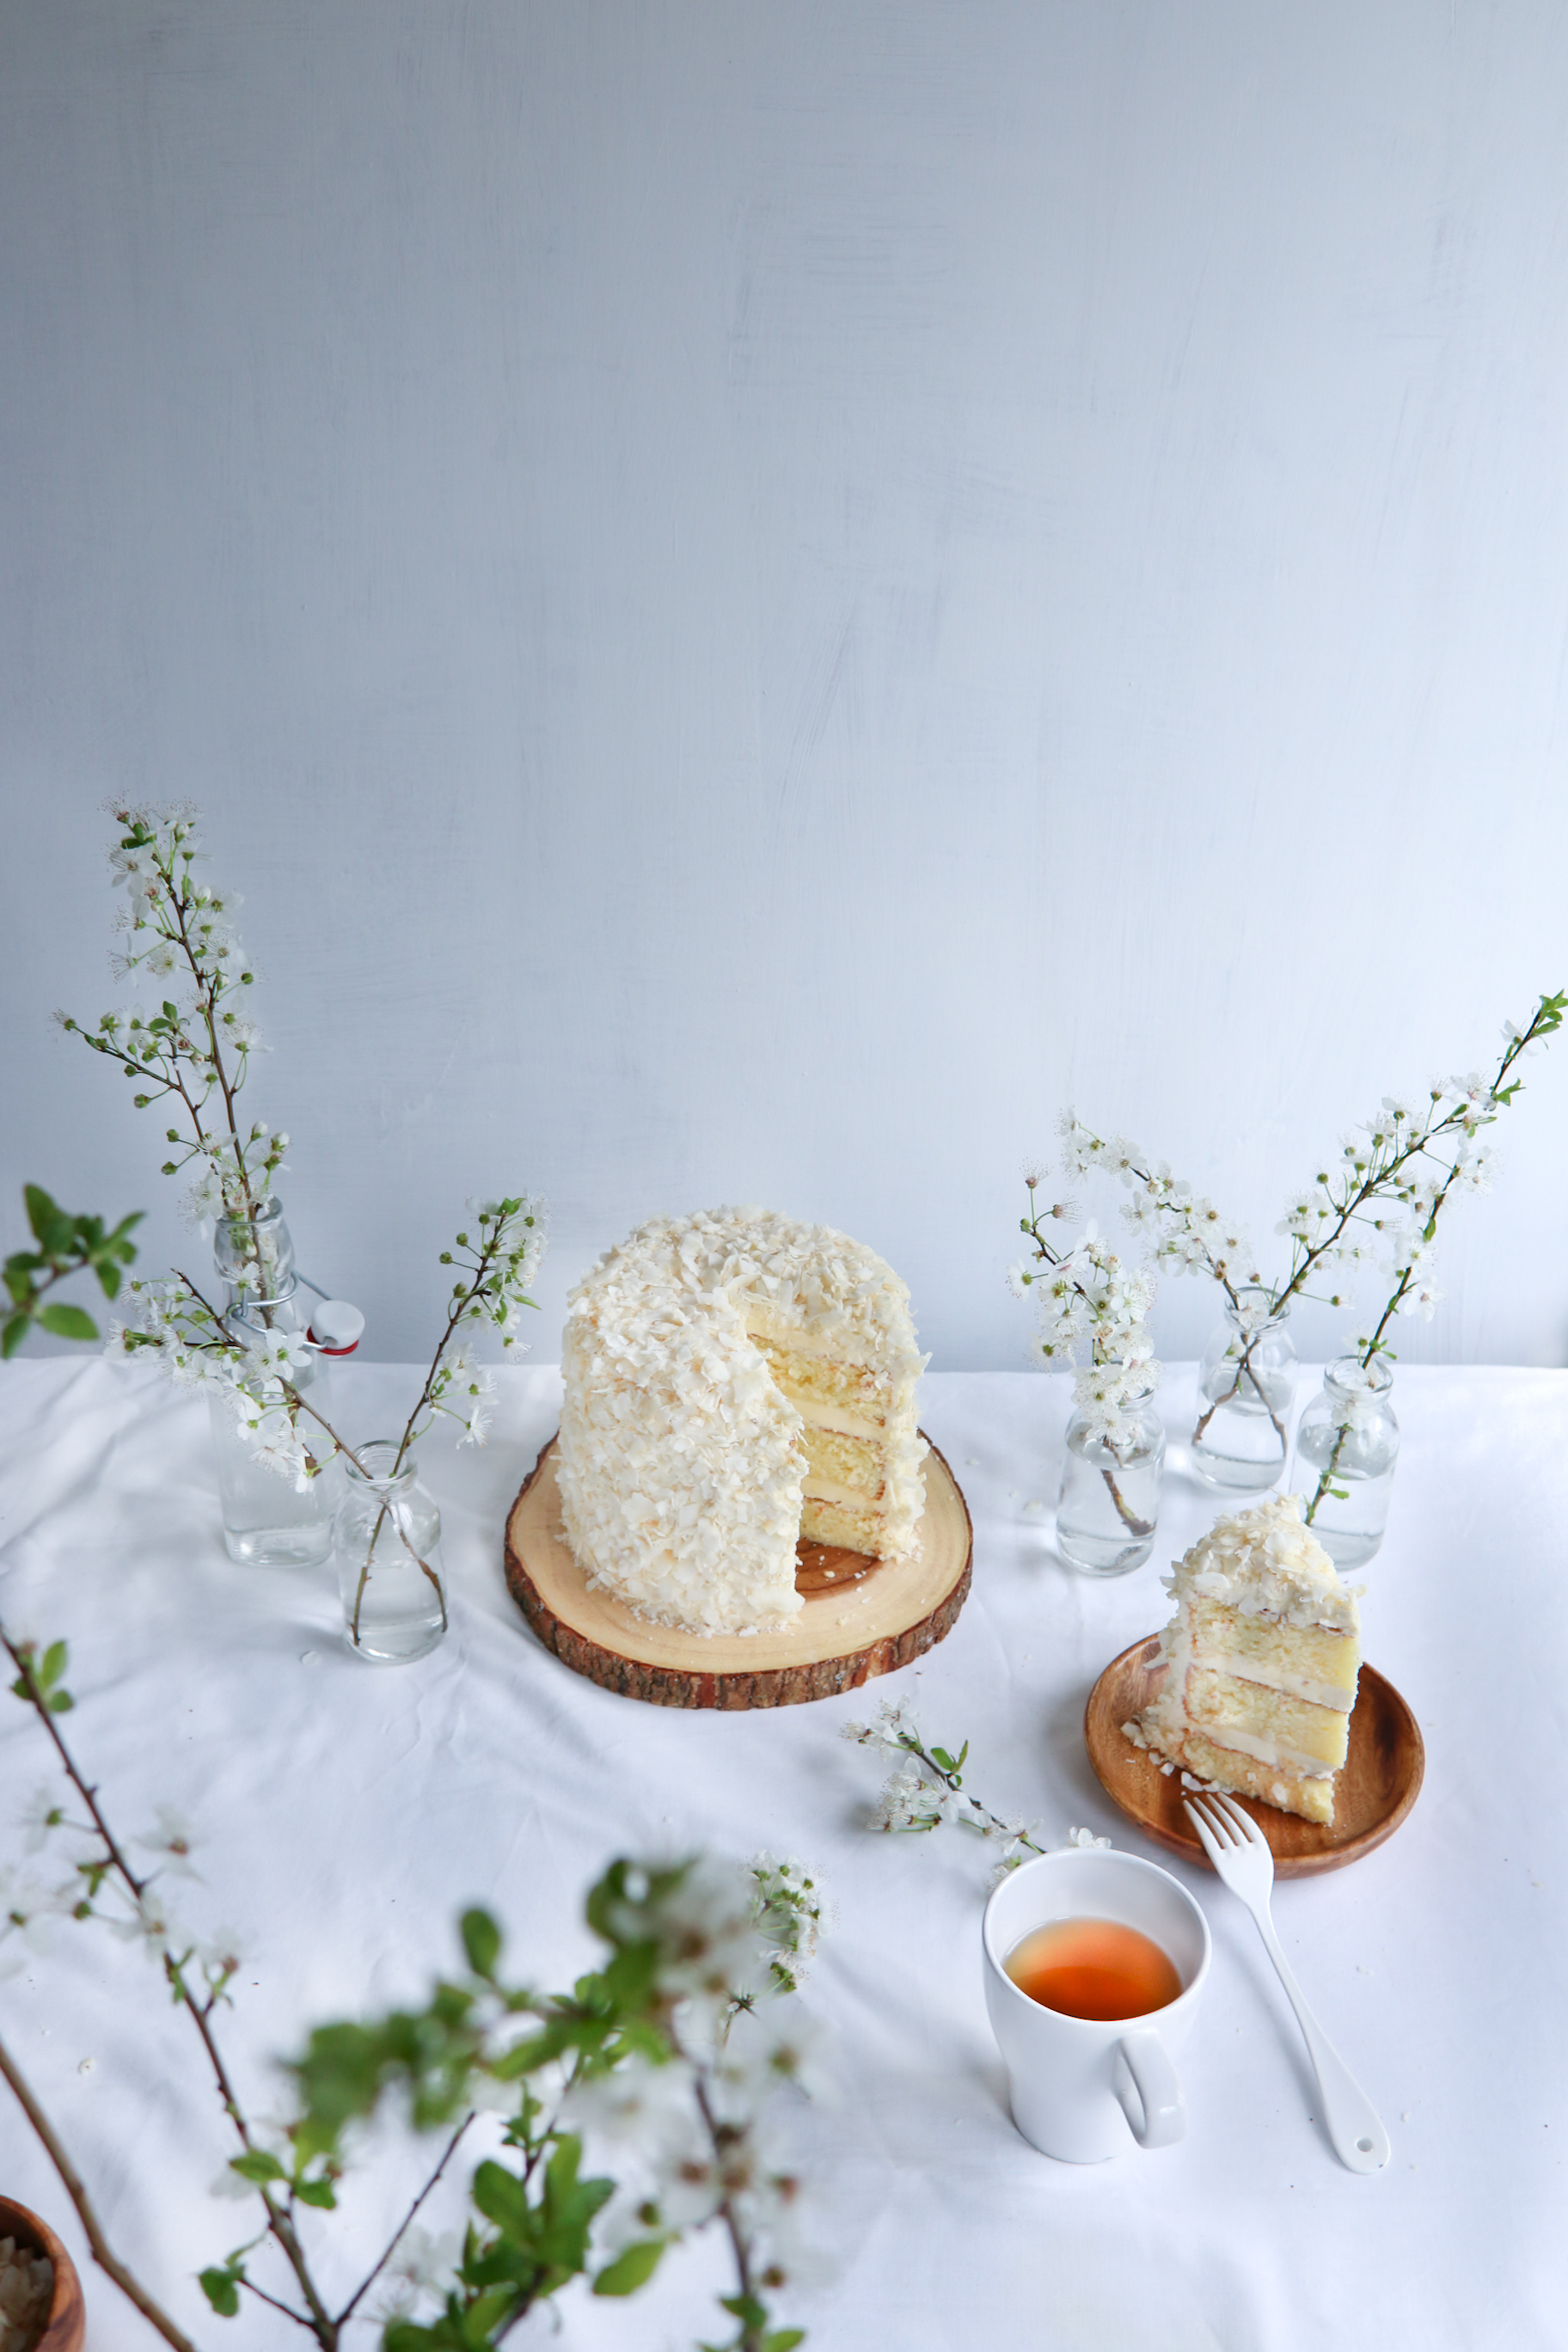
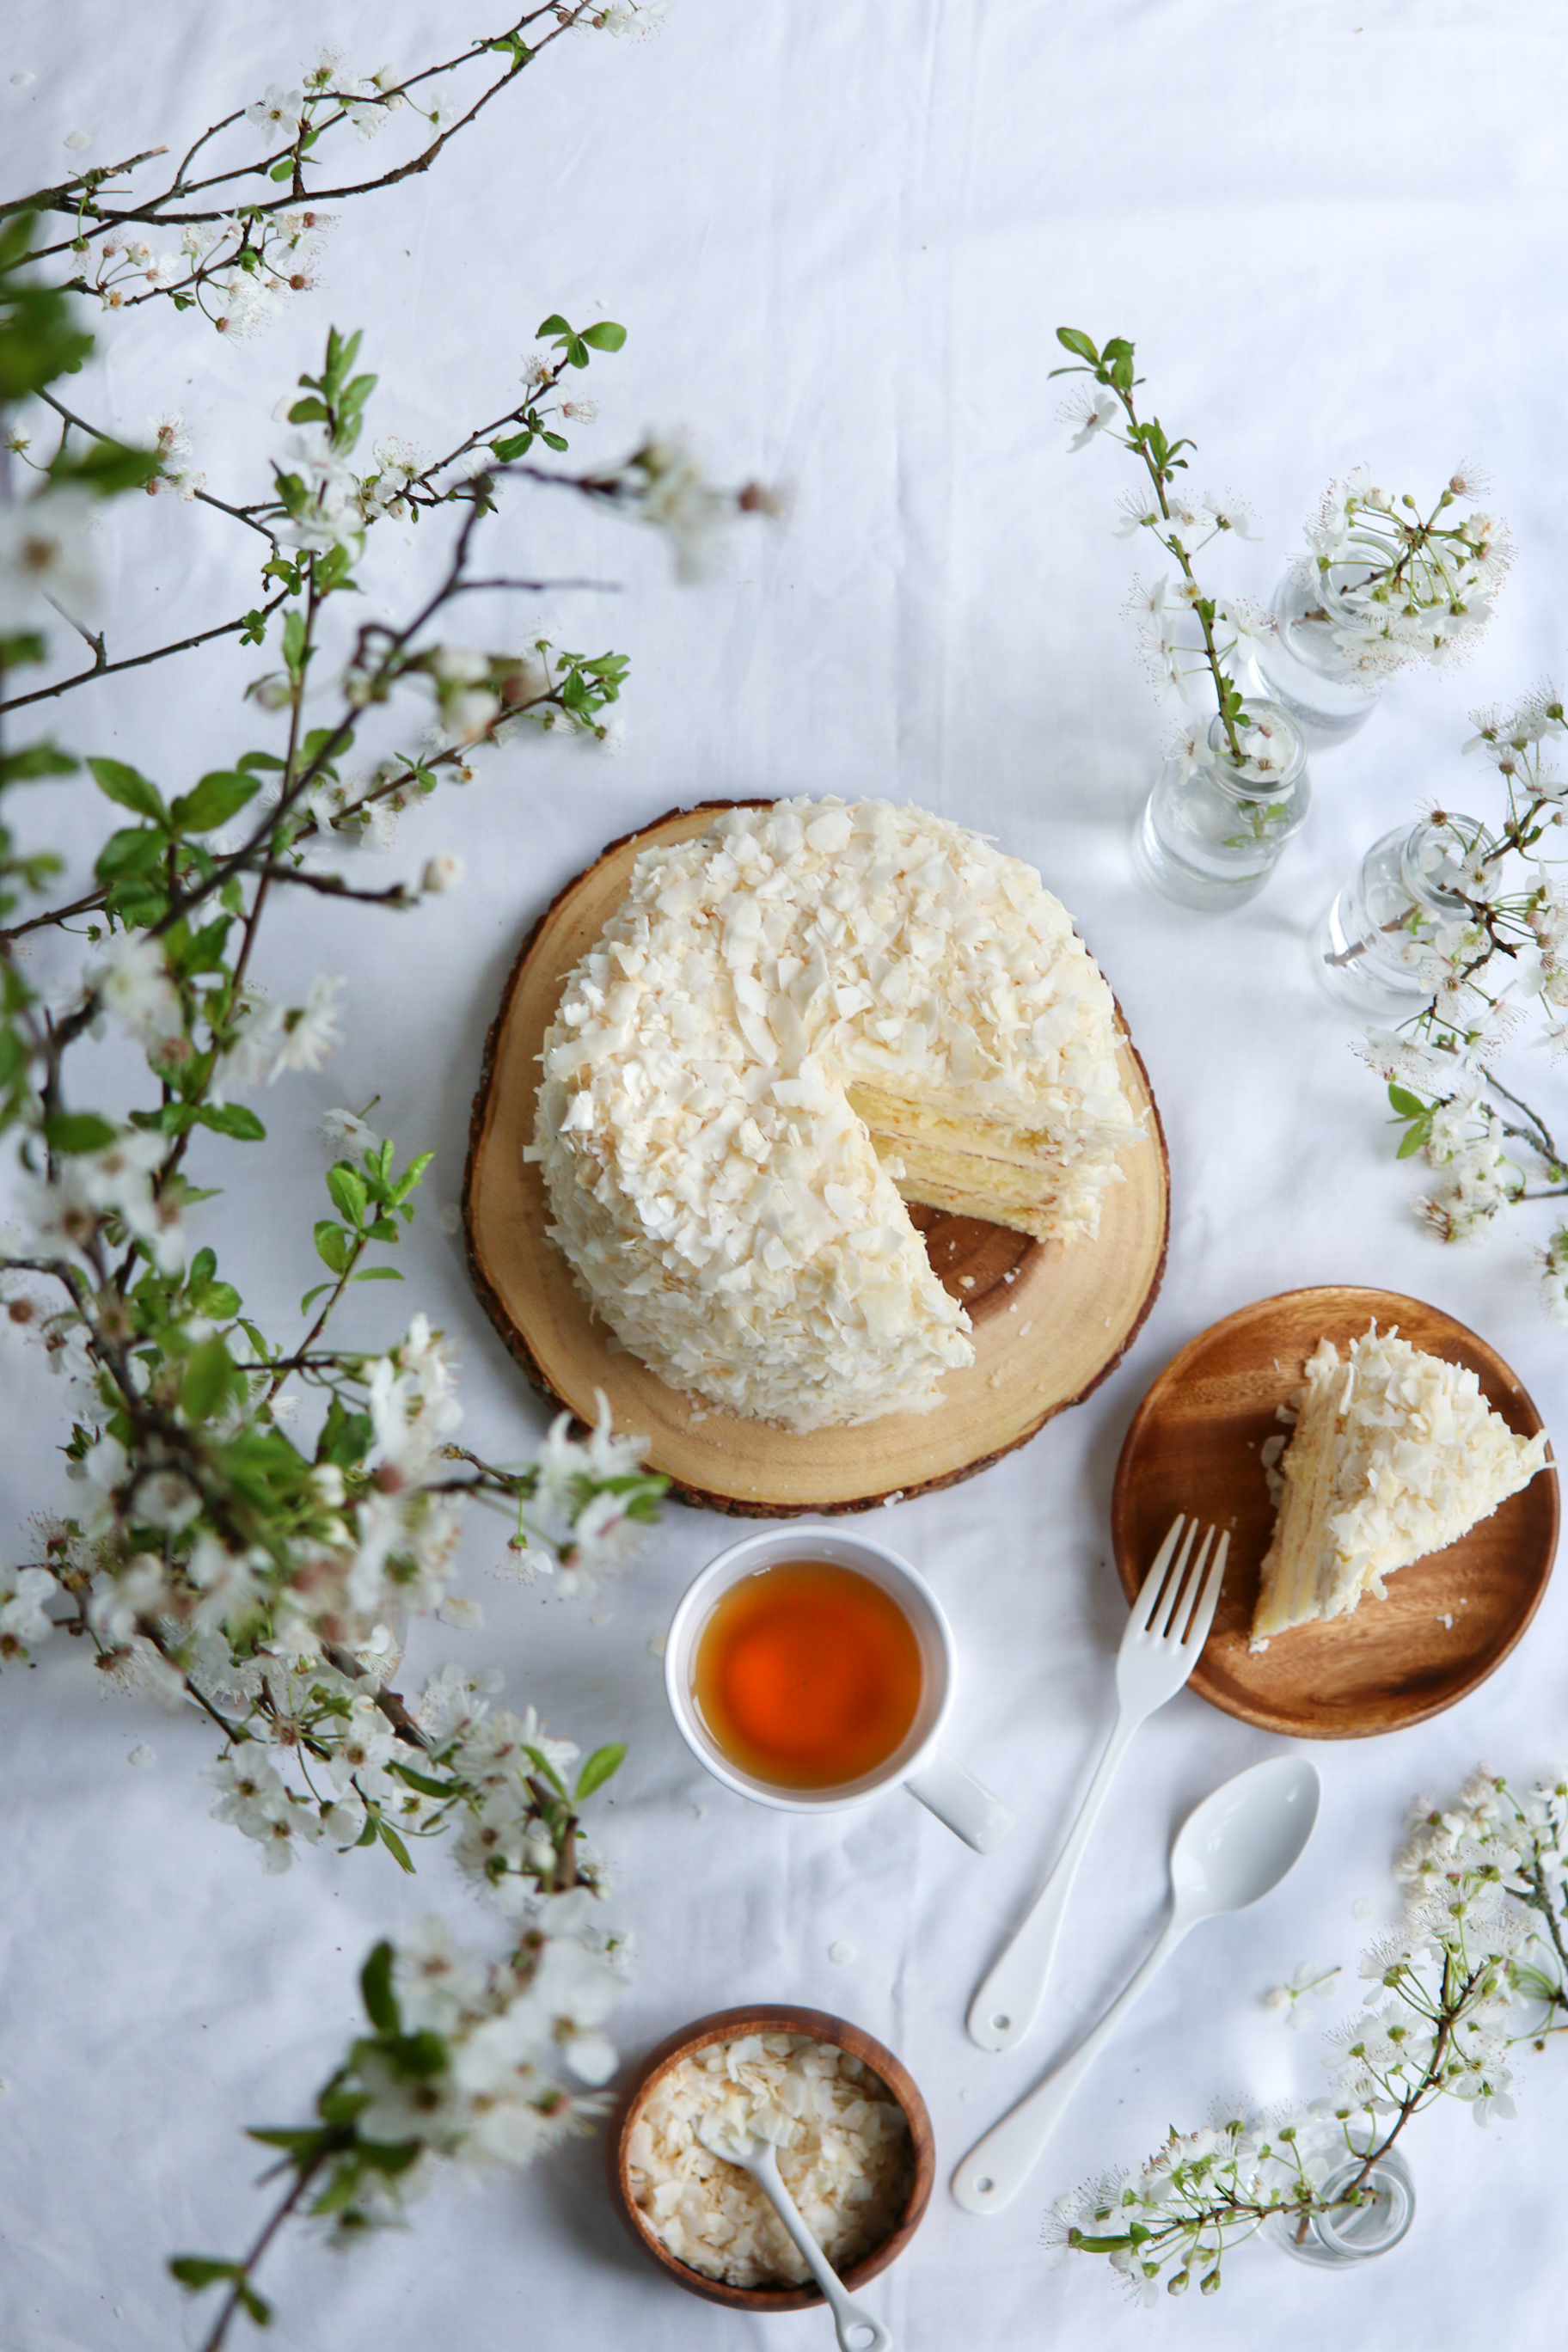
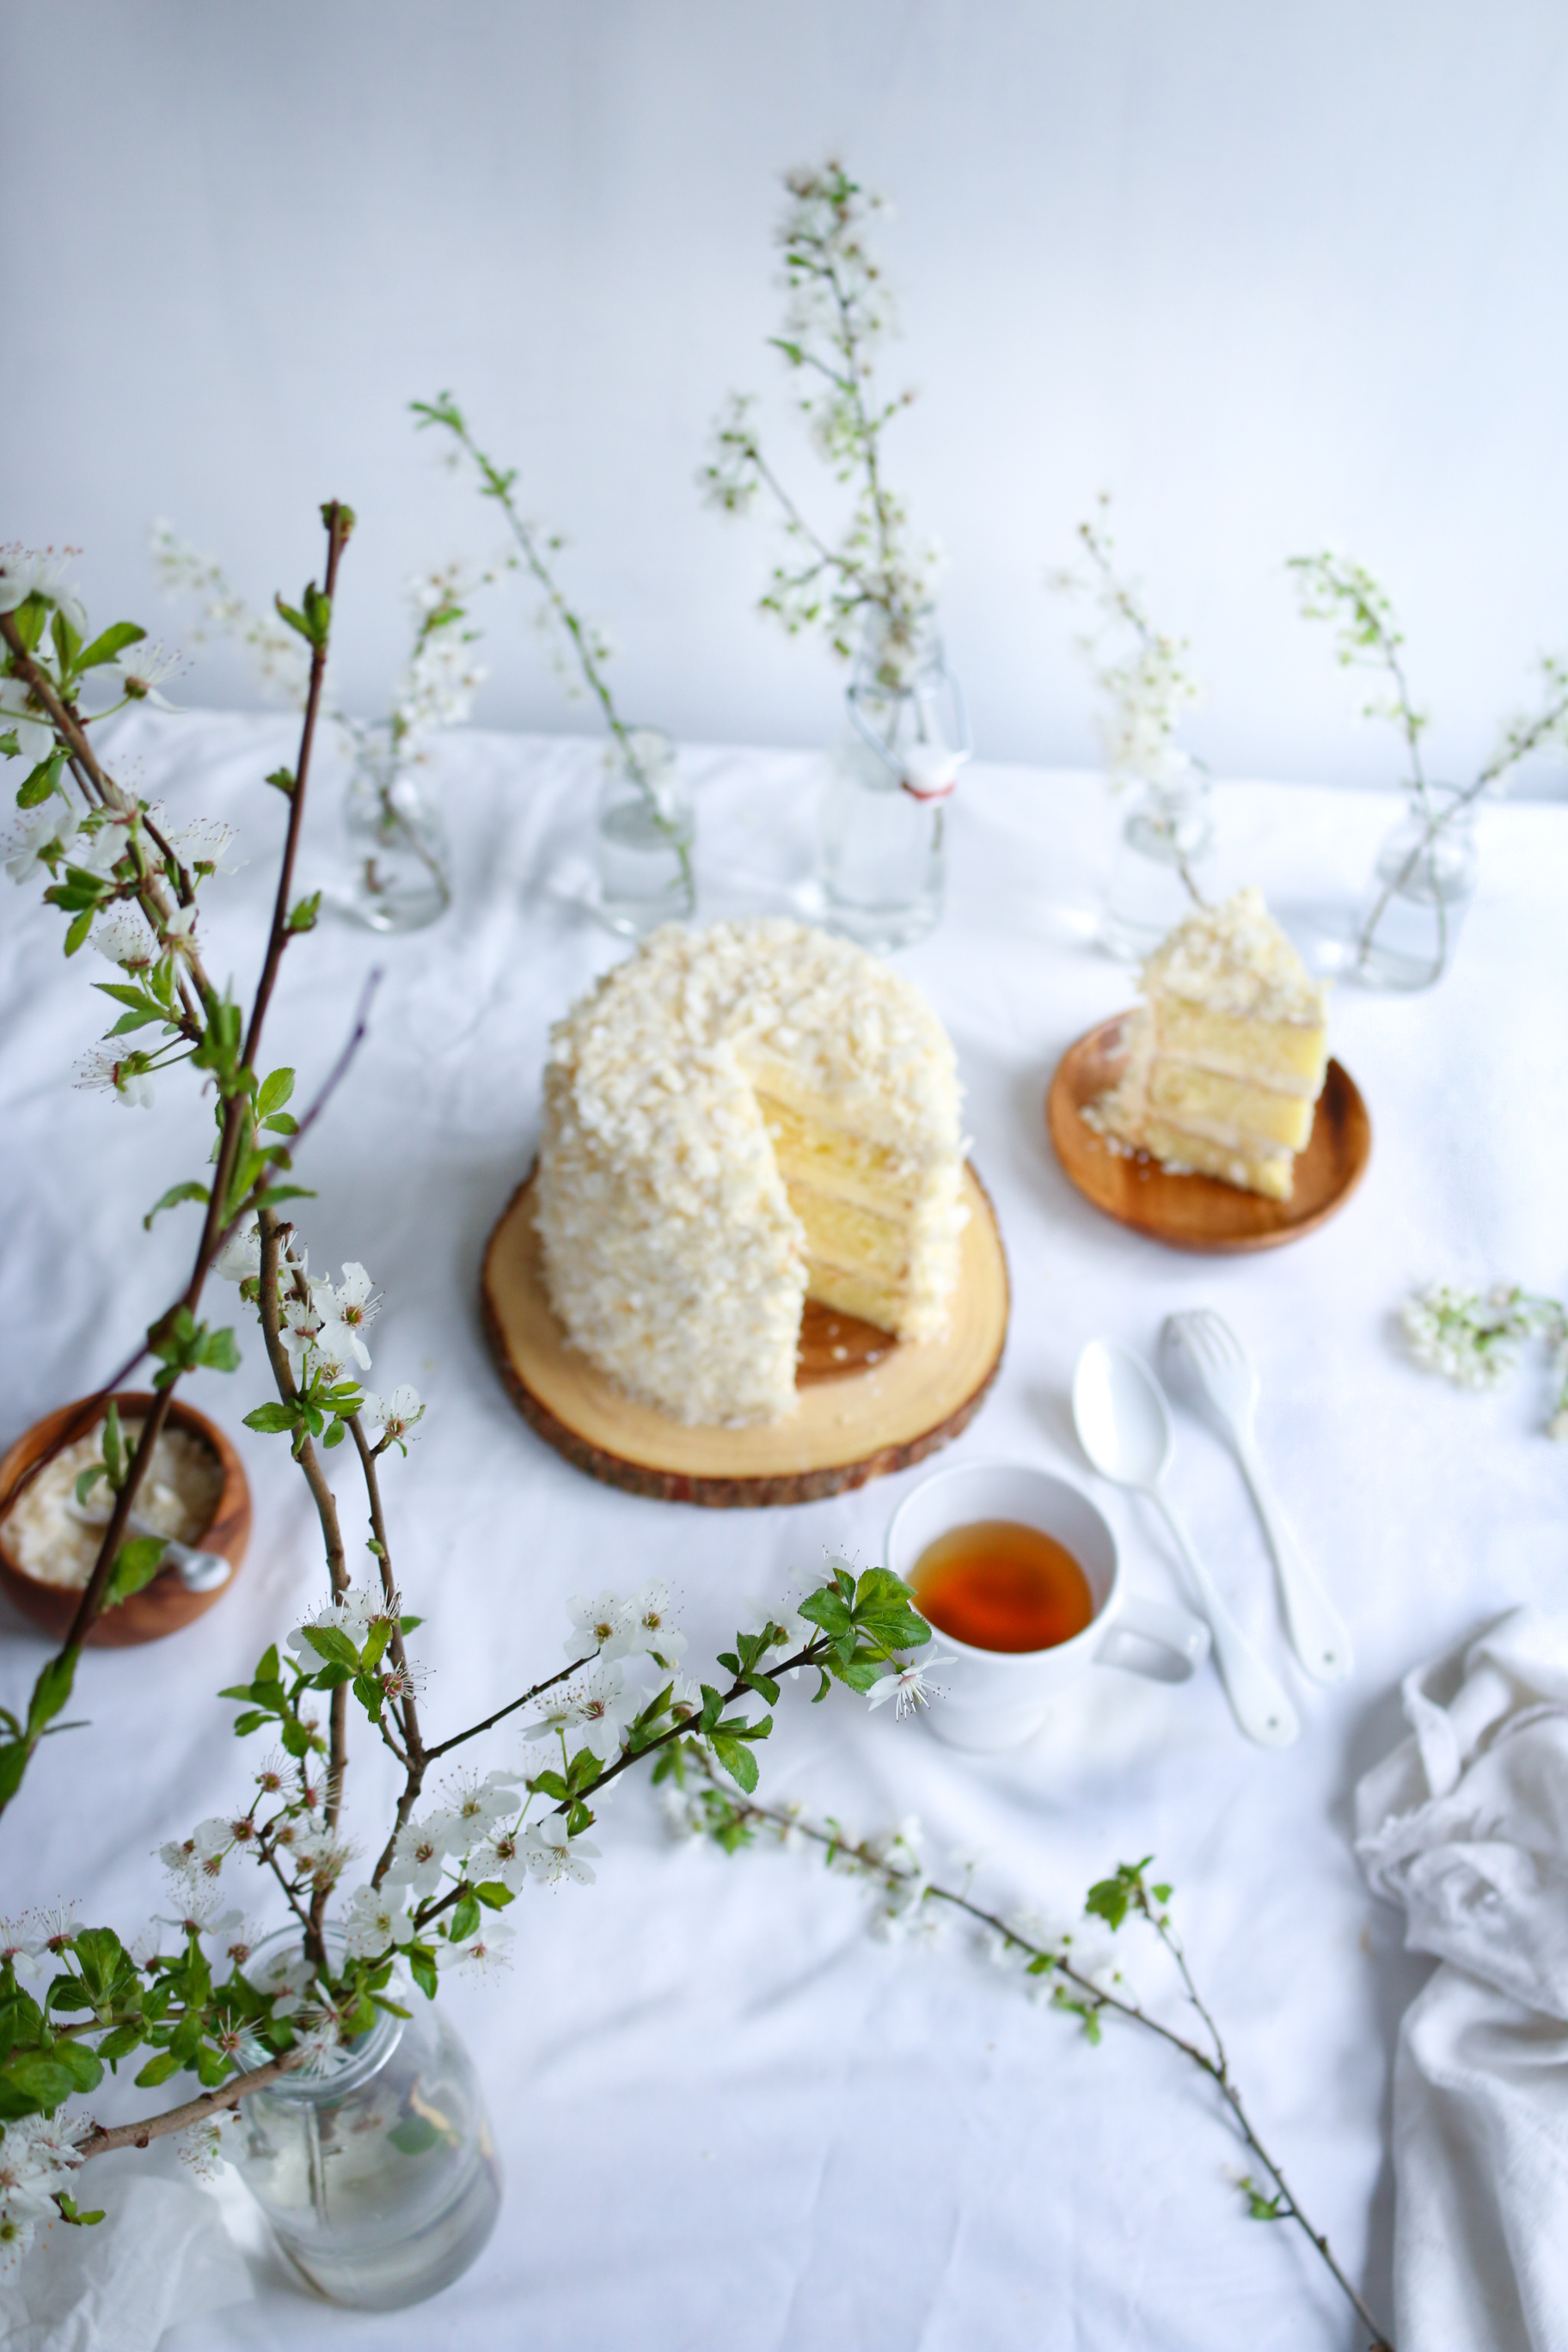
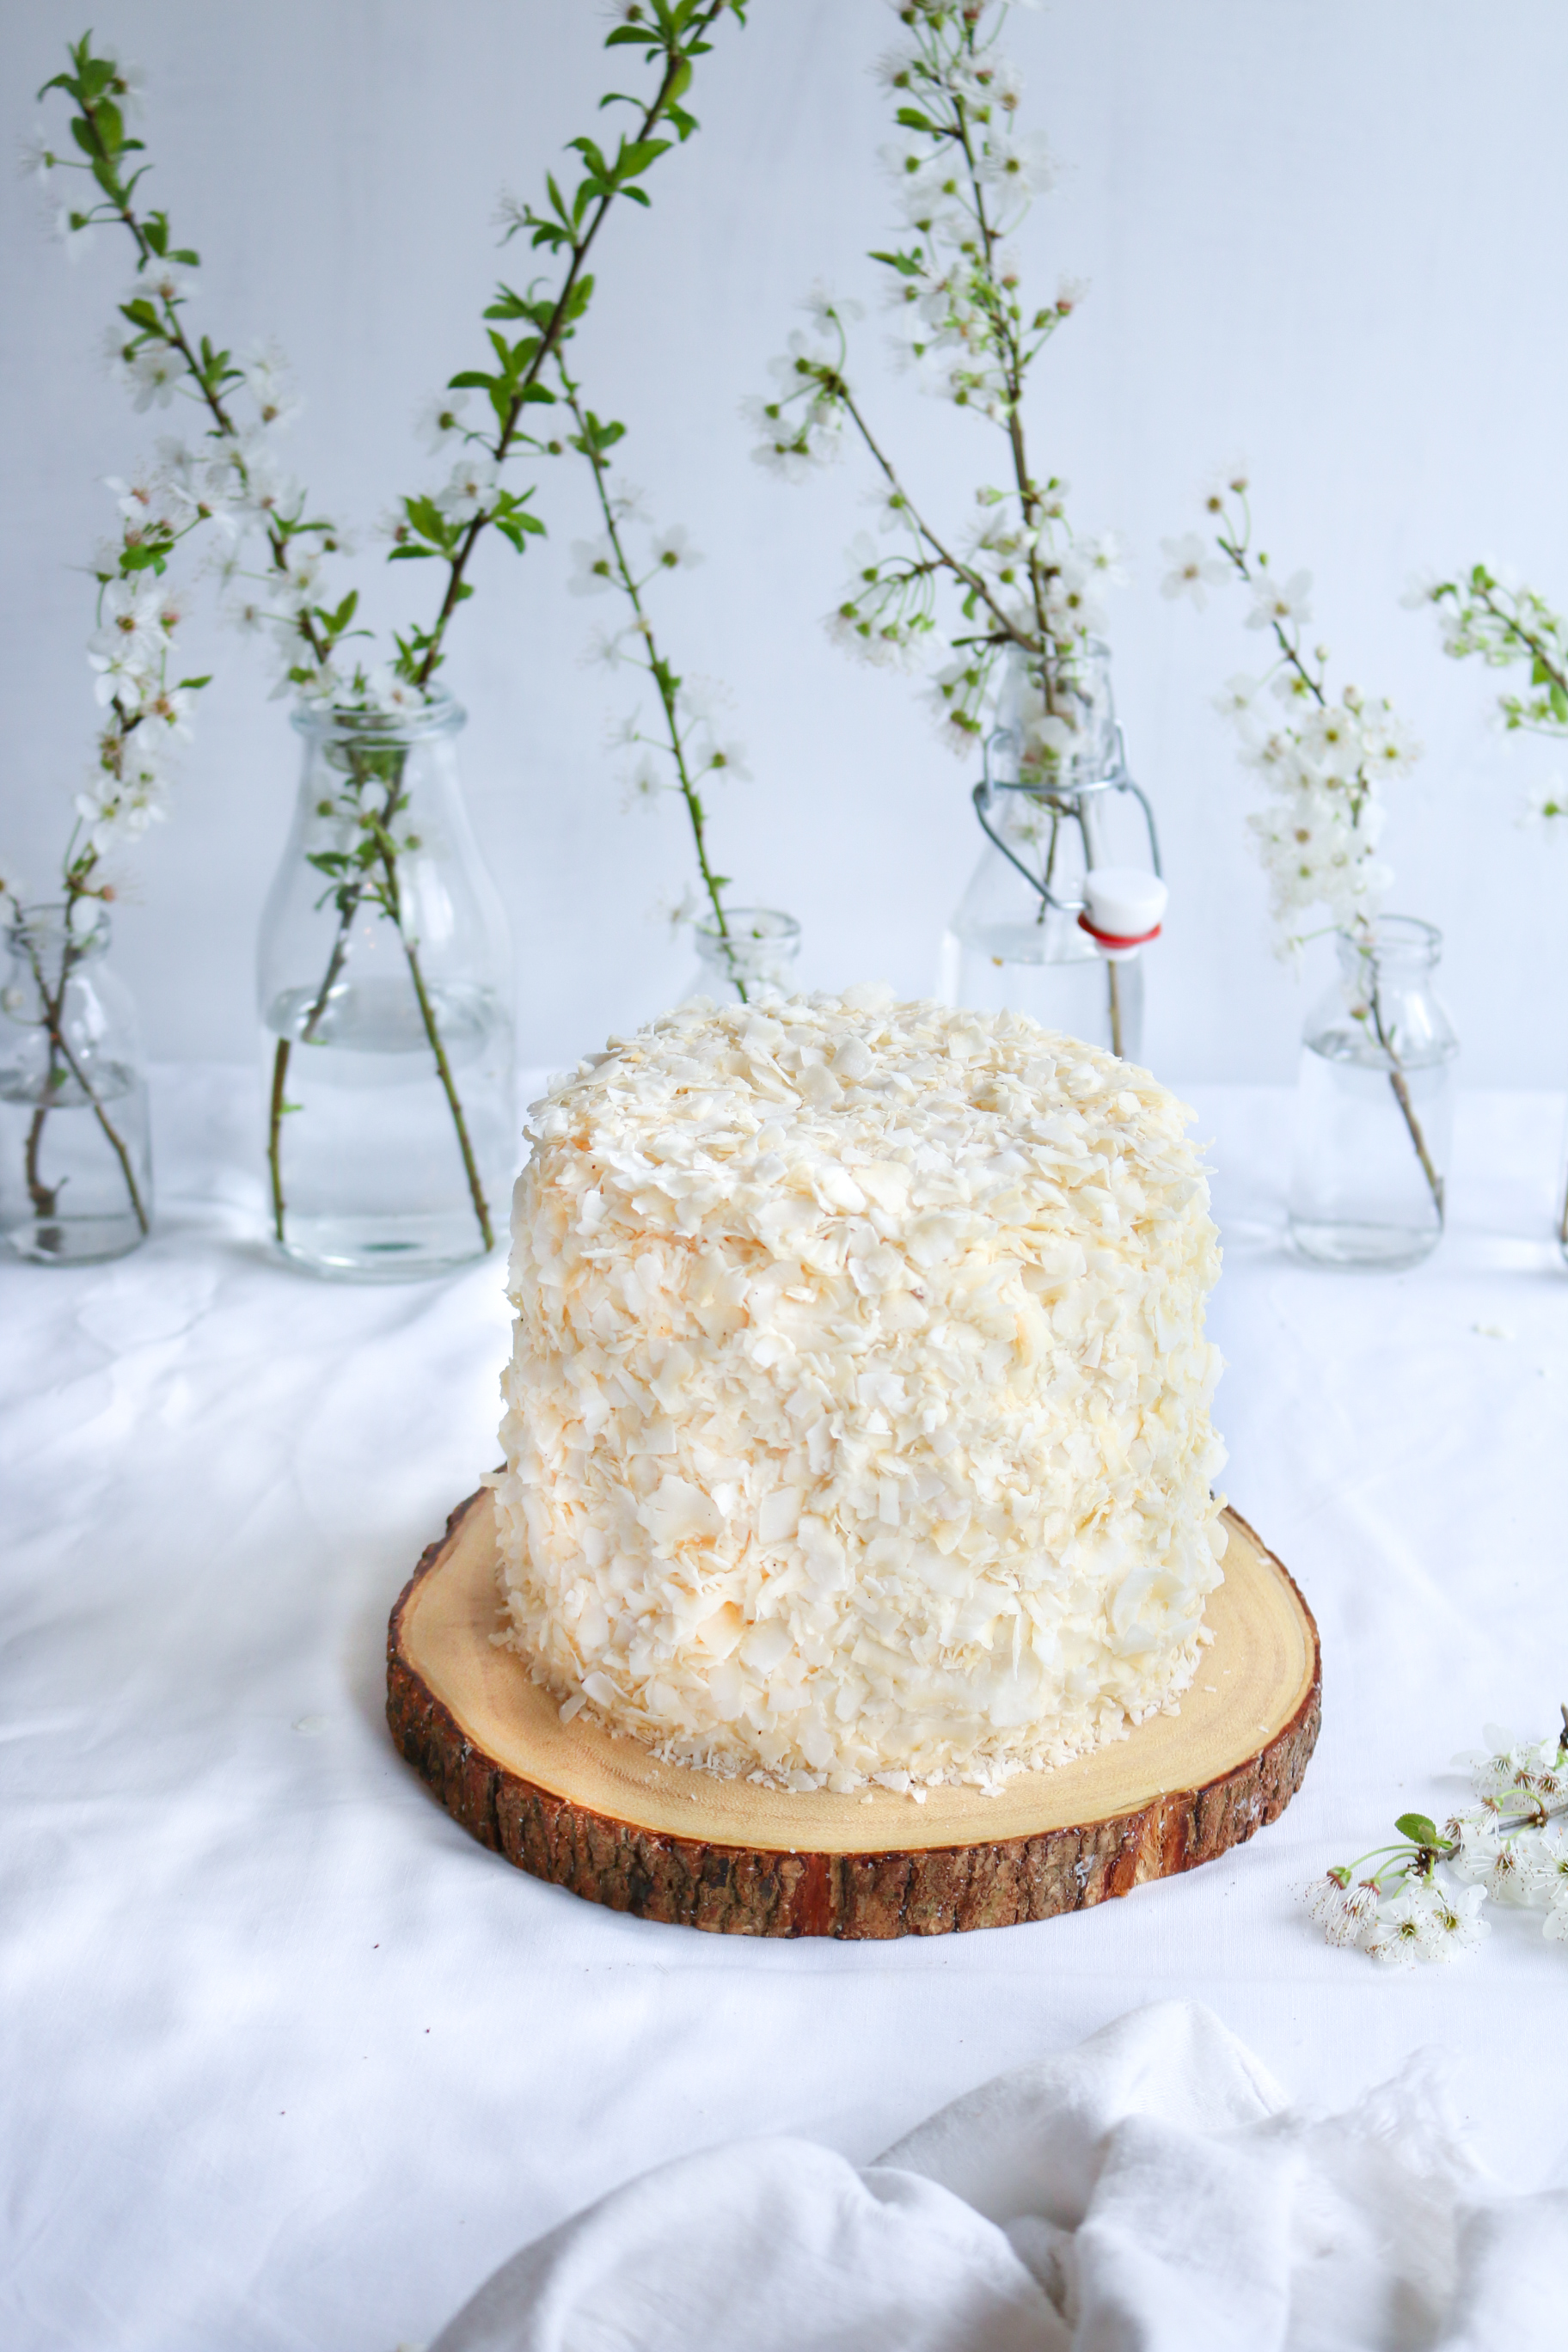
It is almost the end of March and spring is here. After months of not blogging I felt the need to get back on to it. Two years ago in spring, is when I started this blog. So now every year I automatically associate spring with my blog anniversary. After two years of food blogging I can truly say that I have come a long ways since that Sunday night, exactly two years ago this week. That night a random idea, but one that was fueled by my interests, came to me. This was to start my very own blog particularly specializing in all things food. Now two years later, my decision to start a blog is up there with one of the best decisions I have ever made. In just the past year I was able to grow immensely in my skills in both photography and food blogging. In 2015 I purchased my first ever DSLR Camera; a Canon EOS 70D. This allowed me to shoot better quality photos and produce visuals that I could only have dreamed of two years prior. Nevertheless I am always trying to expand my food photography abilities. If there is one piece of advice I would give to a fellow food blogger who is just starting out, it would have to be to incorporate a large assortment of props and backgrounds. Your photos will only be as good as what your talking a photo of. In other words if it does not look good in real life, it most likely will not look good in the actual picture. Incorporating a variety of backgrounds and props will make your job of shooting and styling that much easier. In addition it is also very important to always keep yourself motivated and inspired. The best way to do so for me personally is to look at other food blogger's and photographer's work. You can find my list of inspiring food bloggers on my "about" page. In honor of the blogs two year anniversary. I chose my recipe for white chocolate coconut cake. This is truly my favorite cake that I have ever baked. I very much enjoy eating every slice, so naturally I want to share this recipe with everyone. It starts with three delicious coconut layers that are then layered with smooth white chocolate coconut frosting and topped with coconut chips.
Things To Know Before You Bake :
1. Recipe is for 6 inch pans.
2. The coconut that I used for the cake is called ( unsweetened flaked coconut ) it's the Bobs Red Mill Brand. Which can be found online or purchased at some grocery stores.
3. Make Sure your using (Extra Virgin Coconut Oil) because you need the strong taste and flavor.
Pre Heat Oven To: 350 F Bake: 25-35 mins
Ingredients
Coconut Cake Layers:
1/2 cup Butter ( 1 stick )
1/3 cup Extra Virgin Coconut oil
1 1/2 cups Granulated Sugar
3 Eggs
1 1/2 cup flour
1 tsp baking powder
1/8 tsp salt
1/4 cup milk
1/4 cup butter milk
White Chocolate Frosting:
3 sticks butter
3 cups powdered sugar
12 oz Bag of White chocolate or chips (For melting)
2 1/2 tbsp extra Virgin coconut oil
3 to 7 tbsp heavy whipping cream
6 oz Bag of Unsweetened Flaked Coconut for topping
1. In a stand mixer cream the butter, coconut oil and sugar. ( Partly melt the coconut oil for it to be just above room temperature). Mix until it's creamy. Next beat in the eggs 1 by 1.
2. Start off the dry ingredients by sifting the flour, baking powder and salt. Then add it to the cake batter in 1/2 cup increments. Mix until incorporated.
3. Cut out the parchment paper for your three, 6 inch pans. Then spread margarine on the sides and 1 1/2 inch around bottom of the pan. place the parchment paper on the bottom. Then pour a even amount of the cake batter into the 3 pans. Bake for 25 -35 mins or until a toothpick inserted into the middle of the cake comes out clean. After the layers are baked remove them from the oven and let them cool in the pan for about 2 mins. Then flip the layers Over onto a cooling rack. And remove the parchment paper, flip the cake layers over again. And start the frosting.
4. Place the white chocolate and coconut oil in a glass heat safe bowl. Over a pot of boiling water ( put about 1 inch of water in the pot) . The bowl should not be touching the water. Keep the water boiling for the steam to melt the chocolate. Stir the chocolate with a spoon, to melt the chocolate faster. But be careful not to get any water into the chocolate. Which will result in curds and clumps of chocolate. Remove the chocolate from the heat as soon as the chocolate is melted. (chocolate should be warm not hot before adding it to the frosting)
5. In a stand mixer Beat the butter until is becomes smooth and creamy. Which is About 2 mins on high. Then add the 3 cups of powdered sugar in cup size portions. Next pour out the cooled but still lukewarm white chocolate. And mix until combined. Then depending on how dense your frosting is, add the whipping cream. Start out with just 2 or 3 tbsp then keep adding more or until it's smooth and creamy.
6. To assemble your cake start by cutting a strait top on your cake layers. By cutting off the hills or bumps with a serrated bread knife. Place the cake layers cut side down onto a cake stand or cardboard cake circle. Use a cake turntable to easily apply the frosting. Measure and Spoon a equal amount of frosting between each layer. Then apply a very thin layer of frosting. On top and sides of the whole cake and place in the fridge for cooling ( about 15 mins ). Before applying the last full layer of frosting.
7. Start covering the whole cake in coconut flakes by tossing the coconut against the sides and top of the cake. Do this Until the whole cake is completely covered in coconut. You can also press the flecked coconut into the cake by hand. If tossing doesn't cover all the empty spaces left on the cake.